Toilet Seal Replacement Services Overview
Visitors can learn about how local contractors handle toilet seal replacement services and compare options to find the right professional.
- - Residential property owners seeking quick and reliable toilet seal replacement services.
- - Commercial facilities in need of professional toilet repairs to minimize downtime.
- - Property managers looking to connect with local contractors for ongoing plumbing maintenance.

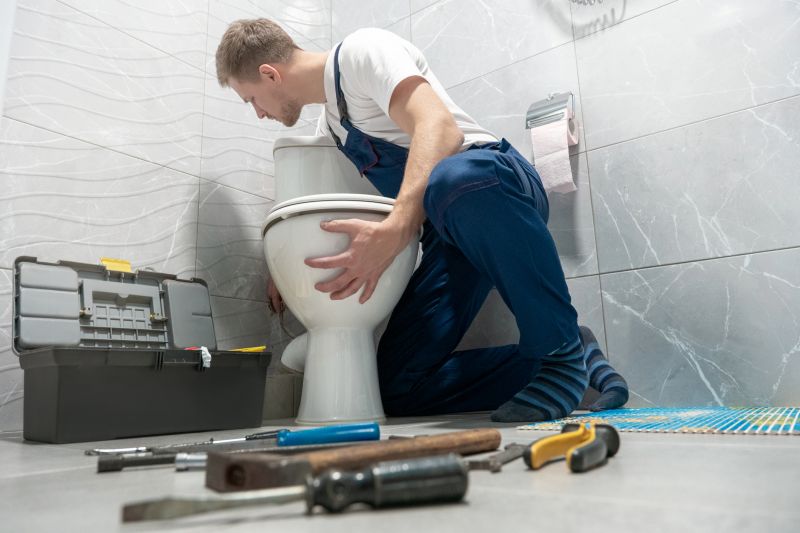
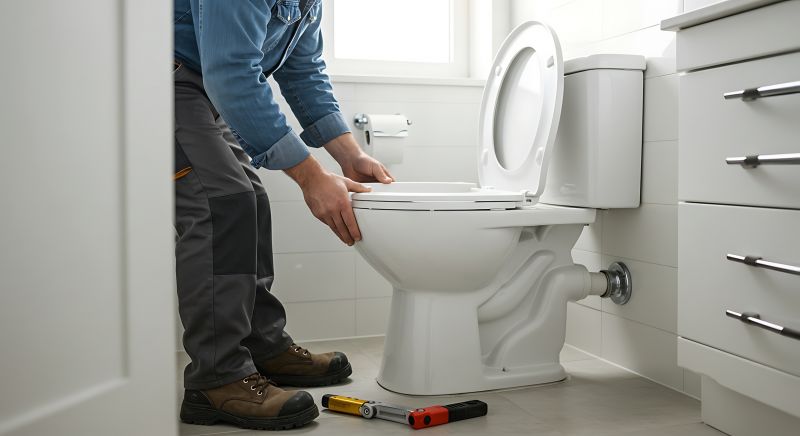
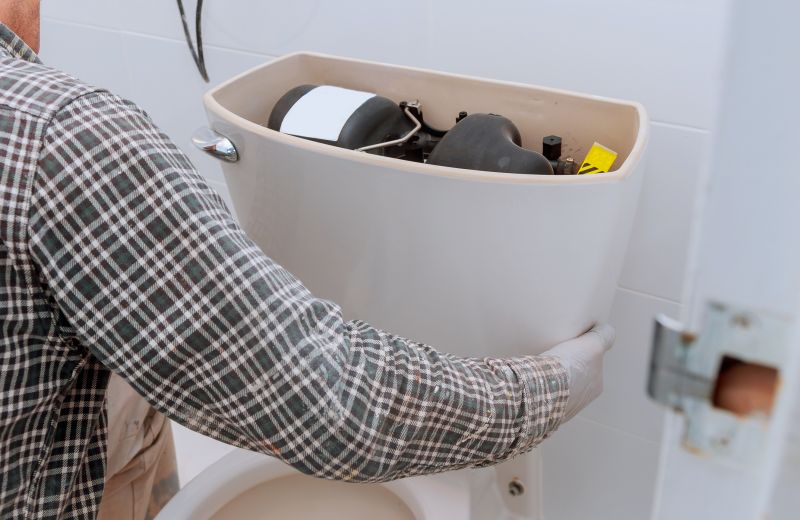
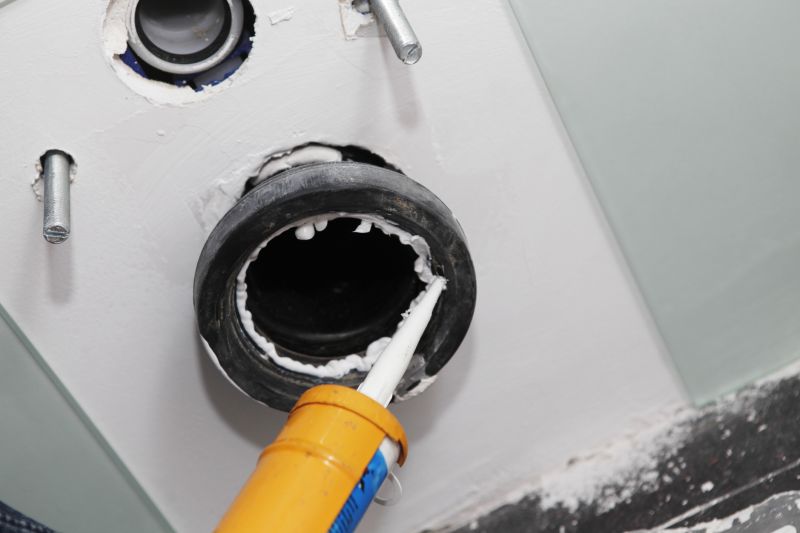
Toilet seal replacement is a common plumbing task often needed when a toilet begins to leak, wobble, or produce unpleasant odors. This service involves removing the old seal, inspecting the surrounding components, and installing a new seal to ensure a watertight and secure fit. Property owners typically seek out local contractors who specialize in toilet repairs and replacements to address these issues promptly and effectively. These professionals have the experience to handle various toilet models and can help restore proper function and prevent potential water damage.
Local service providers offering toilet seal replacement are equipped to assess the condition of existing seals and determine if a replacement is appropriate. They handle a range of related tasks, such as tightening fittings or replacing additional components if necessary. Homeowners and property managers can expect to connect with experienced contractors who prioritize quality work and reliable service. Finding the right local pros ensures the job is done correctly, helping maintain the integrity and efficiency of the bathroom plumbing system.
This guide provides helpful information to understand the process of toilet seal replacement and what to consider before hiring a service provider. It assists in comparing local contractors and understanding the basics of the work involved. The goal is to help visitors make informed decisions and connect with qualified local service providers.